Maintaining a properly functioning refrigerator is crucial for preserving perishable goods and ensuring operational efficiency, whether at home or in a professional setting like a car dealership. For many, the prospect of repairing a fridge can seem daunting, but with the right knowledge and tools, many common issues can be resolved without professional help, saving both time and money. This guide is designed to empower consumers with practical DIY tips tailored to the standard US consumer, equipping you to troubleshoot and fix common refrigerator problems effectively.
In this article, you’ll discover essential information about different types of refrigerators, how they operate, and the most frequent issues they encounter. From temperature control problems to leaks and noisy operation, understanding these issues will help you diagnose problems accurately. Armed with step-by-step repair guides and maintenance tips, you’ll be able to tackle issues confidently, ensuring your fridge operates at its best. Whether you’re a homeowner looking to extend the lifespan of your appliance or a small business owner managing a dealership, these DIY tips will help you keep your fridge running smoothly and efficiently.
Understanding Your Fridge
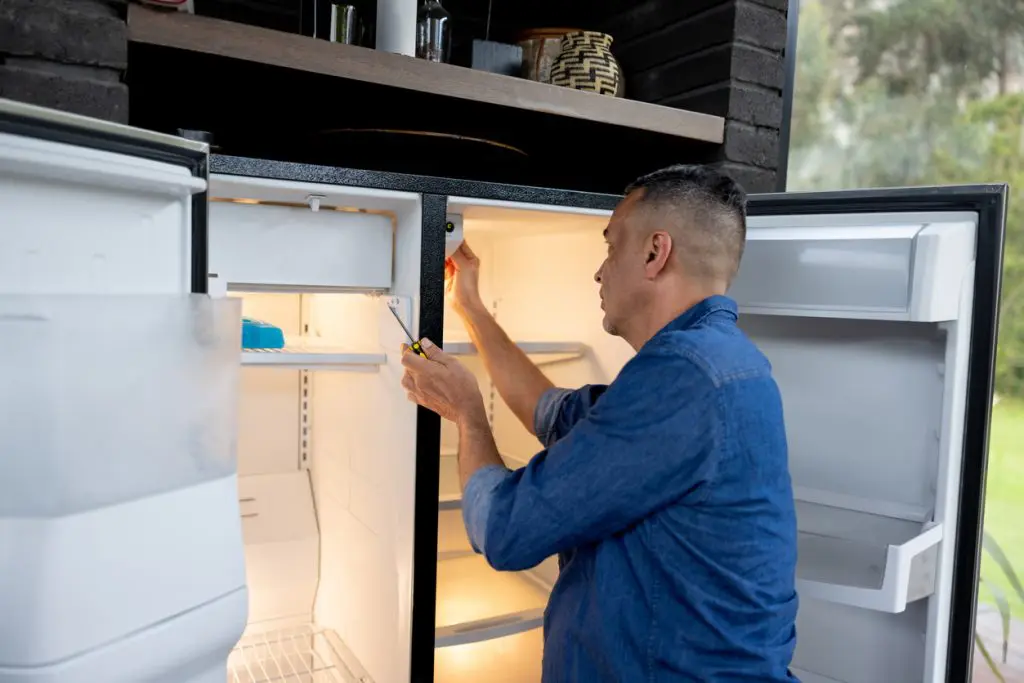
To effectively repair your refrigerator, it’s essential to understand its basic components and how they function together. Most refrigerators operate on similar principles, but variations exist depending on the type and model. Here’s a breakdown of what you need to know:
- Types of Refrigerators: Common types include top-freezer, bottom-freezer, side-by-side, and French door refrigerators. Each type has its own layout and design affecting repair procedures.
- Key Components: Understanding the main parts helps in troubleshooting:
- Compressor: Responsible for circulating refrigerant through the system.
- Condenser coils: Release heat from inside the fridge.
- Evaporator coils: Absorb heat to cool the interior.
- Thermostat: Controls temperature settings.
- Door seals: Maintain airtight closure to prevent temperature loss.
- How It Works: Refrigerators work by transferring heat from inside to outside using a refrigerant cycle involving compression and expansion of gases. The thermostat regulates the cycle, ensuring the fridge maintains the desired temperature.
By familiarizing yourself with these components and their functions, you’ll be better equipped to diagnose and fix issues when they arise. Whether you’re dealing with a noisy compressor or a faulty thermostat, knowing how your fridge operates is the first step towards effective DIY repair.
Common Refrigerator Problems
When your refrigerator malfunctions, identifying the problem accurately is crucial for effective repair. Here are some of the most common issues encountered by fridge owners:
- Temperature Control Problems: Inaccurate temperature settings can lead to food spoilage or freezing. This issue often stems from a faulty thermostat or damaged sensors.
- Noisy Operation: Loud noises from your fridge can indicate problems with the compressor, condenser fan, or evaporator fan motor. Addressing these promptly can prevent further damage.
- Leaking: Water pooling inside or around the fridge may result from a blocked defrost drain, damaged water inlet valve, or cracked water filter housing.
- Ice Buildup: Excessive frost in the freezer can restrict airflow and affect cooling efficiency. This may be caused by a faulty defrost heater, timer, or thermostat.
By understanding these common refrigerator problems, you can quickly diagnose issues and determine whether DIY repair is feasible. Each problem may require specific troubleshooting steps and replacement parts, but with the right guidance, you can save on repair costs and extend the lifespan of your appliance. Later sections will delve into step-by-step repair guides tailored to each of these issues, empowering you to confidently tackle fridge repairs at home.
Tools and Equipment Needed
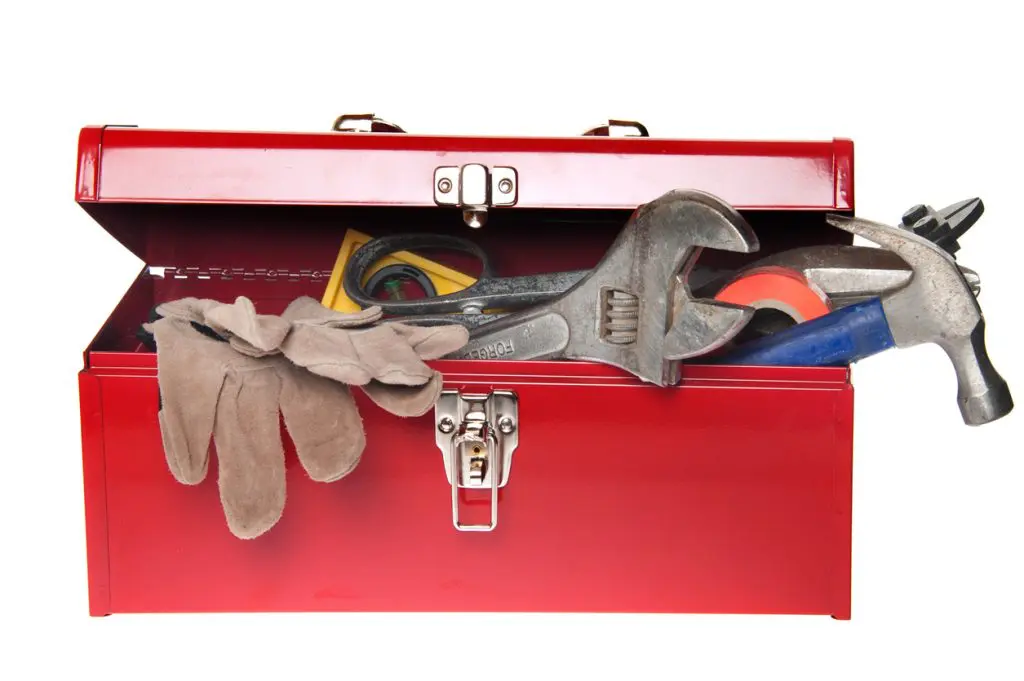
Before diving into fridge repairs, it’s essential to gather the right tools and equipment. Here’s a list of items you’ll likely need for most DIY refrigerator repairs:
Basic Tools:
- Screwdrivers (Phillips and flathead)
- Nut drivers or socket wrench set
- Pliers (needle-nose and slip-joint)
- Multimeter for electrical testing
Safety Equipment:
- Safety gloves to protect hands from sharp edges and electrical components
- Safety goggles to shield eyes from debris and refrigerant
Specific Equipment:
- Replacement parts specific to your fridge model (thermostat, compressor, fan motor, etc.)
- Condenser brush for cleaning dust and debris from coils
- Leak detector solution (if dealing with refrigerant leaks)
Having these tools and equipment on hand will streamline the repair process and ensure your safety while working on your fridge. Always consult your refrigerator’s manual for model-specific requirements and safety guidelines before beginning any repairs. With proper preparation and the right tools, you’ll be well-equipped to tackle common fridge issues and restore your appliance to optimal working condition.
Step-by-Step Repair Guides
Repairing your fridge can often be straightforward with the right guidance. Here are step-by-step guides for addressing some common refrigerator issues:
Temperature Control Issues:
- Check Thermostat: Adjust the thermostat settings to ensure they’re correctly calibrated. If the fridge is too warm or cold, consider replacing the thermostat.
- Inspect Sensors: Clean or replace temperature sensors if they’re faulty, affecting temperature regulation.
Noisy Operation:
- Identify Source: Determine if the noise is coming from the compressor, condenser fan, or evaporator fan motor.
- Replace Faulty Components: Replace worn-out or malfunctioning parts to reduce noise levels and prevent further damage.
Leaking:
- Clear Defrost Drain: Unblock the defrost drain to prevent water buildup inside the fridge.
- Inspect Seals and Valves: Check door seals for cracks and ensure the water inlet valve and filter housing are intact and functioning.
Ice Buildup:
- Defrost System: Check and replace the defrost heater, timer, or thermostat if ice buildup is excessive.
- Monitor Airflow: Ensure proper airflow inside the freezer to prevent frost accumulation.
Following these step-by-step repair guides can help resolve common fridge issues effectively. Always prioritize safety and consult your refrigerator’s manual or manufacturer’s guidelines for specific instructions tailored to your appliance model. With patience and attention to detail, DIY fridge repair can save you money and extend the life of your refrigerator.
Maintenance Tips to Prevent Future Issues
Regular maintenance is key to preventing costly repairs and ensuring your fridge operates efficiently. Here are essential maintenance tips to prolong the lifespan of your refrigerator:
- Cleaning and Inspection: Regularly clean condenser coils to remove dust and debris, improving cooling efficiency. Check door seals for cracks or gaps that can cause air leaks.
- Temperature Settings: Monitor and adjust temperature settings seasonally to maintain optimal cooling without overworking the compressor.
- Defrost Regularly: If your fridge has a manual defrost option, ensure to defrost it regularly to prevent ice buildup that can affect cooling performance.
- Check for Leaks: Periodically inspect water lines and fittings for leaks, especially around the water dispenser and ice maker.
- Air Circulation: Allow adequate space around the fridge for proper airflow, ensuring it operates efficiently without overheating.
By incorporating these maintenance practices into your routine, you can extend the life of your refrigerator and minimize the need for repairs. Additionally, staying proactive with maintenance reduces energy consumption, saving you money on utility bills. Regularly refer to your fridge’s user manual for manufacturer-recommended maintenance intervals and procedures tailored to your specific model. With consistent care, your refrigerator will continue to provide reliable cooling for years to come.
Final Tips for Successful DIY Fridge Repair
Here are some final tips to enhance your DIY fridge repair experience:
- Organize and Label Parts: When disassembling components, use containers or labels to keep track of screws and parts, ensuring easy reassembly.
- Regular Inspection: Incorporate routine inspections into your maintenance schedule to catch potential issues early and prevent major repairs.
- Environmental Considerations: Dispose of old parts and chemicals responsibly, following local regulations to protect the environment.
- Continuous Learning: Stay curious and continue learning about fridge maintenance and repair techniques to build confidence and proficiency over time.
By leveraging these tips and resources, you can effectively manage and maintain your refrigerator, ensuring it remains in optimal working condition for years to come. Happy repairing!
Conclusion
Repairing your refrigerator on your own can be a rewarding experience, saving you time and money while extending the life of your appliance. By following the step-by-step guides and maintenance tips provided in this article, you can confidently tackle common fridge issues and maintain optimal performance. Here are some final tips to keep in mind:
- Safety First: Always prioritize safety when working with electrical components or handling refrigerants. Use appropriate safety gear and consult professional help if unsure.
- Consult Manuals: Refer to your refrigerator’s user manual for model-specific instructions, troubleshooting tips, and maintenance schedules.
- Professional Help: For complex repairs or if you’re uncomfortable with DIY methods, it’s wise to seek assistance from a qualified technician to avoid potential damage or safety hazards.
By taking proactive steps to care for your fridge, you not only ensure its reliability but also contribute to energy efficiency and environmental sustainability. Regular maintenance and timely repairs can significantly reduce the likelihood of unexpected breakdowns, allowing you to enjoy hassle-free refrigeration for years to come.


